Saturday, September 14, 2013

Pond Bridge Replacement – Part 2

In this second installment of our bridge installation, I will pick up from where I left off in part 1. (While the bridge was out of the way I had reset some rocks that were supposed to line the edge of the pond that had been dislodged by critters over time. The prep work for the footings was complete and the support frame for the bridge was assembled and placed on its footings.)

Now it was time to assemble the rest of the bridge. While the frame was relatively easy to move on and off the footings, the completed bridge would have proved difficult due to its weight, so we put the rest of it together in place. First, we screwed down the planks. We had test fit them to the frame while it was inside so that we could place the first one with the proper overhang to allow for the same overhang on the other end once the last plank was screwed in place. The holes were predrilled at the factory through the planks and all but two screws, as we moved from one end of the bridge to the other, went in easily. One of the predrilled holes lined up with a knot in the frame. After predrilling that spot on the frame, the screw readily went in. However the second screw, that would not go in all of the way, seemed to strike a piece of metal buried in the frame. I was unable to drill this spot to accept a screw so I moved over and tried a new pilot hole. Luckily the problem that I had nearby was not persistent. With the planks in place, it was time to assemble the railings.

First we located the center posts in the center of the bridge. Then we attached the end posts such that the horizontal railings slipped into the inset of the posts and their predrilled holes lined up in the center of the posts. One “little” oops occurred as I got ready to place the last end post. While the bridge frame and planks just fit between large rocks on either side of the bridge, part of the posts sit on the outside of the frame and screw into it. It just happened that this last post was on top of a large piece of sandstone that kept it from sliding past the side of the frame. Luckily we have some large masonry bits and this sandstone boulder was somewhat soft so I was able to make a notch in the boulder, to accommodate the post, using my drill. Once this post was in place, we screwed in the rails.

The kit also included pieces of wood meant to go vertically between the frame and the bottom horizontal rail, evenly spaced along the bridge. As we were test fitting these decorative elements, we decided that they blocked more of the view and made the bridge feel more closed in than we wanted, so we left them off. The only thing remaining was to install the decorative elements at the top of each post.

Our completed bridge is very sturdy. I am glad that I spent the extra time on the prep work for the footings. It also was a great idea to assemble the remainder of the bridge in place once we had the frame placed properly on the footings. This is one heavy and solid bridge. I’m betting it lasts longer than the last one.

Wednesday, September 4, 2013

Thanks for the Treasuries - August 2013

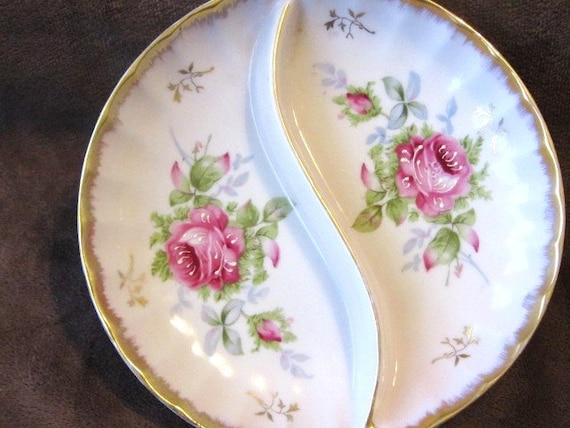
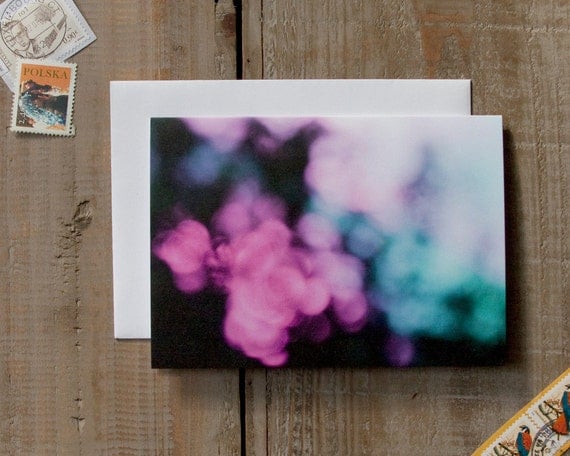
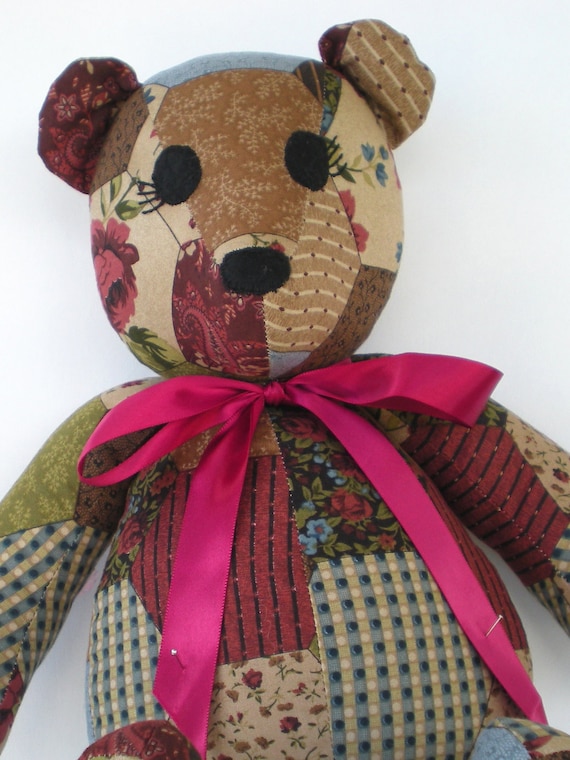
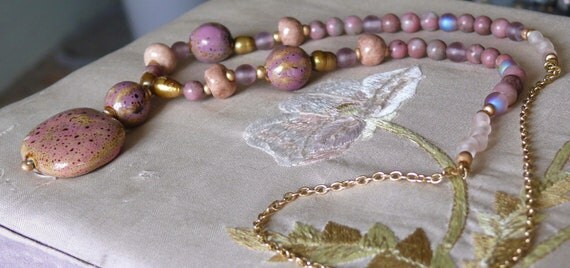
Four different Etsians let me know that they had featured one of my items in a treasury during August. Five August Etsy treasuries, that treasury makers let me know about, included one of my creations. You can see a collage below of my items from EDCCollective and EclecticSkeptic that were featured during August. (Click on the collage to see a larger view.)


I really appreciate being featured by the treasury makers. To thank them, I have listed below (in alphabetical order) links to the 3 Etsy sellers that let me know that they featured one of my items, as well as an item from their shop that I like. (The fourth Etsian that featured one of my items does not have a shop.)

Enjoy window shopping and please click on the shop links of anything that catches your eye.

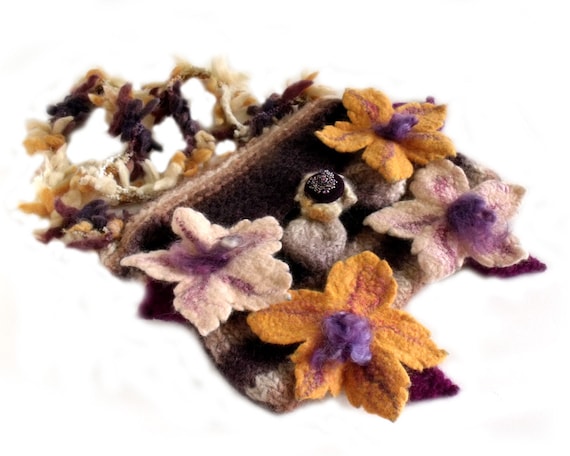
AllMadeWithLove
This talented Etsian knits and crochets scarves, cowls, capes, shawls, neck warmers, mittens, hats & jackets. That's not all though, she felts and makes leather bracelets and brooches, semiprecious stone necklaces and bracelets.

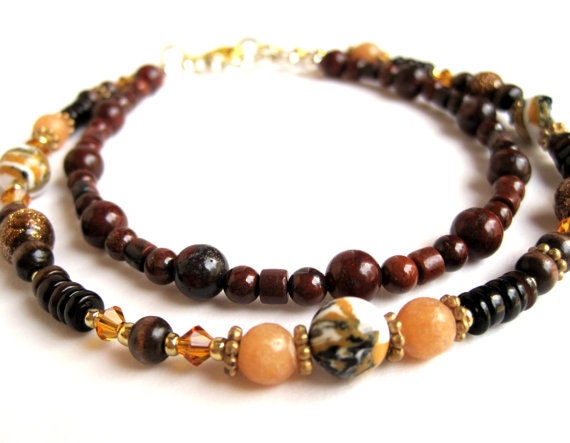
CindyBurkeOriginals
This shop owner makes unique and one of a kind gemstone, crystal and shell jewelry with bronze, silver, gold and copper.

HotDogCrafts
Great gift ideas in the form of greeting cards, earrings, rings & necklaces are found here.

Saturday, August 31, 2013

Artist Spotlight – Robert Hooper

Not only is this artist totally talented but he is also a generous and kind person. I’ve forgotten how I stumbled across his work on Etsy. I’m thinking that it was while looking through someone’s favorites or from viewing a treasury in which one of his awesome images was included. When I clicked on his shop I realized that I might have a difficult time narrowing a purchase choice down to just one image. I spent some time revisiting his shop before making my choice.

The images in Robert’s Etsy shop are predominantly southwestern, Asian, Native American or equine themed. This seemed like an unusual combination to me until I found out that he was born in Japan and currently lives in Arizona. In his Etsy shop you will find unlimited edition, approximately 8x10 reproductions of his work along with 11x14 limited editions. The only small criticism I have is that his work is underpriced IMO. (During further communications with Robert, I now think this is because he genuinely wants people to enjoy his artwork and uses his Etsy shop as a way for people to purchase beautiful artwork at below market prices.) Now pricing is many times a very personal thing to an artist, so I don’t want to insult, especially when he was so generous helping me out when I managed not to pay close enough attention to the listing details to note that the 8x10s were only approximately that size. You can find his original work for sale online as well, and it does seem to be priced much more fairly for the artist. He also participates in art festivals.

Back to that generous bit of help that I received. I wrote to Robert after receiving my lovely print and leaving him positive feedback to let him know that the only disappointment that I had was that I was going to have to take the time and extra funds to get a pricey custom sized mat cut since the image was too narrow to fit in a standard cut 8x10 mat. I thought I was being helpful so that he might update the exact dimensions in the listing so other customers who might not be so understanding wouldn’t leave him a negative. His work and customer service are way too good to have that happen IMO. (I had planned to go through my stash of mats that I mat my photographic art prints with to find a color that I liked and then purchase a premade 11x14 frame in order to hang his print in my house. And yes, I should have been more careful and noticed the approx. in the description, but I only focused on the 8x10 part in the title.) I had not written with any intention of Robert doing anything about this except possibly update the listing for future customers. The response that I got was a very generous offer to cut a mat and send it to me. I asked a couple of times what it would cost, never got an answer but I did get a perfectly cut mat that complements the print perfectly. Since I never could get him to name a price, I sent him a check and told him to make sure to cash it and let me know if I did not send him enough.

Now all I had to do was find a frame. I found one whose detailing reminded me of lotus flowers that was on sale and really showcased the print. I highly recommend this artist to anyone looking for beautiful watercolors of horses, koi, southwestern vistas and more.

Friday, August 23, 2013

Help for Hummingbirds

Migratory creatures seem to be feeling the effects of climate change. Polar bears don’t have as much sea ice as they used to and if temperatures continue to change as they have been monarch butterflies may not receive the temperature signals needed to start them on their way back north. Another migratory species that may need to adapt quickly due to climate change so as not to diminish is the hummingbird. Climate change effects the bloom time of its nectar sources which provide energy for its annual migrations. However, there may be ways you can help hummingbirds as changes happen to their environment.

The Audubon Society has a new citizen scientist project designed to bolster current research by documenting the feeding patterns of hummingbirds. You can find out much more information about why researchers are concerned about hummingbirds and about Audubon’s new Hummingbirds at Home Program at this link. That page also has links to find out about two other Audubon citizen scientist programs, the Christmas Bird Count and the Great Backyard Bird Count.

Many research projects require simply too much data to be collected for an accurate study for one scientist or even group of scientists to collect. Often this data is something that the public is very capable of providing to the researchers for analysis. If you have some time to contribute, please consider joining other citizen scientists as they gather data for researchers to understand what types of changes are currently affecting the world we and creatures such as hummingbirds live in.

(I took the first photo in my backyard and the other at a park in San Angelo.)

Wednesday, August 14, 2013

Design This – Ammonite Necklace

Sometimes the perfect custom order isn’t complicated; sometimes it just requires the right elements and a streamlined design. I once wore an ammonite pendant on a chain to a candidate’s forum that I moderated. At the end of the evening I was talking with two of the ladies that helped put the forum together when one of them mentioned how much she liked my necklace and sounded like she would love to have something similar. The other lady mentioned that I made jewelry but since we were all trying to get things packed up and get home for the evening, I suggested that we could talk about it later.

Well, we both got busy, didn’t see each other frequently and it was actually quite some time before the topic came up again. By the time that it did, I had acquired a nice strand of sliced and drilled ammonites in addition to the pendants that I had in my supply stash. I suggested that I could take a photo of the ammonites that I had on hand to see if any of them looked like a good starting point for a necklace (1st photo).

After picking out her favorite, my customer and I discussed what her thoughts were for her finished necklace. I have several different jasper beads whose colors would go well with the ammonites. My customer really liked the simple look of a pendant on a chain so the ammonite would be the star of the necklace and draw one’s attention to it. She also had a preference for a barrel clasp. I asked for some guidance as to the preferred finished length of the piece. After all, this might be a reasonably simple request, but it was a custom one so it should be made to fit to a “T”. I actually had to locate a barrel clasp since I didn’t have any on hand and paired up everything with some chain that I had that I thought would complement the ammonite pendant. I took a photo of this mock up (2nd photo) and sent it off to my customer with a price estimate.

When I got the thumbs up, I made up the necklace to the agreed specifications. Like any other custom order, I always hold my breath a bit in hopes that the final product, seen in person, is just what the customer was hoping for. Seeing the affirmation that it is, no matter how simple or complex the request, is what makes me enjoy custom work so much. If you haven’t been able to find a special piece of jewelry that you’ve been thinking of, contact me to see if I can make it for you.

Friday, August 9, 2013

Pond Bridge Replacement – Part 1

After over a decade of use and being exposed to the elements, the bridge over the stream leading to my garden pond (see second photo in link) had a structural member give out. Unfortunately the same design was not available. In fact, I was not enamored of most of the designs I found online and the one local place that used to do custom fabrication that I knew about was no longer doing so. Luckily I finally found a couple of styles that had potential at Fifthroom. We opted for the Red Cedar Eden 1/2 Picket Rail Bridge, had it pre-stained and shipped to us. It was going to be a bit wider than the old one but luckily we had just enough room to accommodate it. (This style has three support beams instead of the two of the previous bridge.) As with our previous bridge, it was sent as a kit for us to assemble.

I learned a few things putting in the first bridge that meant my prep time before placing this bridge would take longer but the extra effort should ensure the bridge lasts even longer than its predecessor. While I did plan for footings when placing the first bridge, I did not make sure they were all level with respect to each other, nor did I check for square before we hauled out the assembled bridge. The sides of the stream looked like I should be able to measure off them to place the footings. I had also not realized that there was still a fair amount of slope to the sides in that portion of the stream. That meant that when we placed the first bridge, I had to quickly shift some footings. As I was getting close to finishing this, the bridge shifted some under its own weight to settle onto the adjusted footings. Since it didn’t look like it sheared or torqued too much, we decided to leave it alone instead of taking it off and doing anything more to the footings.

This time I was determined to have the footings in the correct locations, at the correct height to be level with respect to each other and level themselves. I used some large cardboard pieces to fashion a rectangle the size of the footprint of the bridge. I laid this across the stream so that I could place the footings such that they would be under the ends of the three support beams and avoid the larger rocks that we had placed along the stream banks. Once the footings were in place based on the cardboard mock up and we had the framework of the bridge assembled, we test fit the beams and the footings. After making a couple of minor adjustments, we pulled off the bridge framework so that I could level the footings completely.

The footing, as you look at the first photo, at the near left corner was going to be the one that set the height for the rest of them. This is because it was the only one that would be resting on the pond liner. Because it was upstream, I selected the shortest rock footing that I had and placed the tallest one at the near right because that was the lowest elevation where I needed to place a footing. While I worked on a footing to level it, I outlined its placement with some flags so that as I removed dirt to properly set the elevation and level of the top surface, I wouldn’t lose the proper placement. I used a carpenter’s level to check the level of the individual footings and I used and 8 foot metal straight edge and the carpenter’s level to level between footings. Once I had everything looking good, we placed the bridge frame on the footings to check and I’m happy to report that no more adjustments were needed.

(The conclusion to the bridge installation was posted a few weeks later as promised and can be found here.)

Sunday, August 4, 2013

Thanks for the Treasuries - July 2013

Five different Etsians let me know that they had featured one of my items in a treasury during July. Five July Etsy treasuries, that treasury makers let me know about, included one of my creations. One of my items was featured in two different July treasuries. You can see a collage below of my items from EDCCollective and EclecticSkeptic that were featured during July. (Click on the collage to see a larger view.)


I really appreciate being featured by the treasury makers. To thank them, I have listed below (in alphabetical order) links to the 5 Etsy sellers that let me know that they featured one of my items, as well as an item from their shop that I like.

Enjoy window shopping and please click on the shop links of anything that catches your eye.

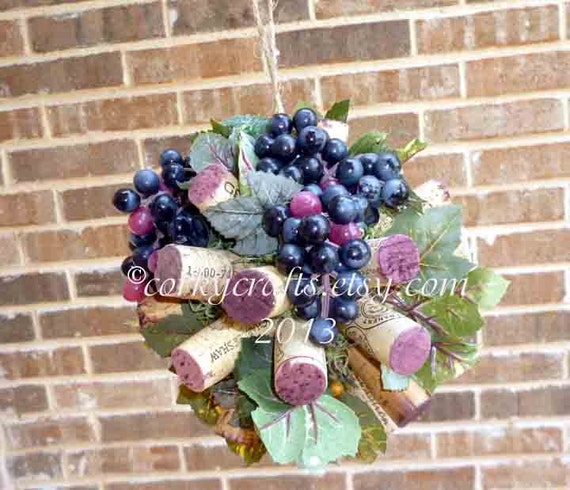
CorkyCrafts
If you have a wine connoisseur to shop for who happens to appreciate hand made items look no further than this shop's wine-related wine cork wreaths and cork crafts.

JaysTreasures
This shop owner carries a wide array of lovely vintage finds and some of her artwork too.

TheHootinOwl
This shop includes handmade bracelets, greeting cards and photography.

TheYellowRoses
Rag dolls, teddy bears, stuffed animals, & quilts are handmade with great care by this shop owner.

UniqueCreationsBB
Unique, original, one-of-a-kind jewelry made from scratch.