Wednesday, August 14, 2013

Design This – Ammonite Necklace

Sometimes the perfect custom order isn’t complicated; sometimes it just requires the right elements and a streamlined design. I once wore an ammonite pendant on a chain to a candidate’s forum that I moderated. At the end of the evening I was talking with two of the ladies that helped put the forum together when one of them mentioned how much she liked my necklace and sounded like she would love to have something similar. The other lady mentioned that I made jewelry but since we were all trying to get things packed up and get home for the evening, I suggested that we could talk about it later.

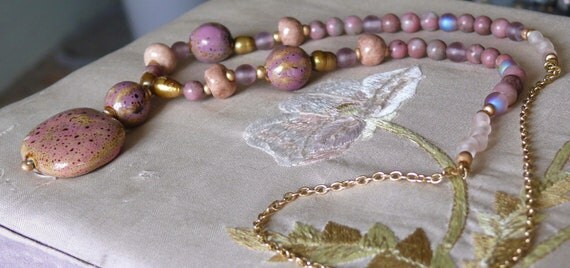
Well, we both got busy, didn’t see each other frequently and it was actually quite some time before the topic came up again. By the time that it did, I had acquired a nice strand of sliced and drilled ammonites in addition to the pendants that I had in my supply stash. I suggested that I could take a photo of the ammonites that I had on hand to see if any of them looked like a good starting point for a necklace (1st photo).

After picking out her favorite, my customer and I discussed what her thoughts were for her finished necklace. I have several different jasper beads whose colors would go well with the ammonites. My customer really liked the simple look of a pendant on a chain so the ammonite would be the star of the necklace and draw one’s attention to it. She also had a preference for a barrel clasp. I asked for some guidance as to the preferred finished length of the piece. After all, this might be a reasonably simple request, but it was a custom one so it should be made to fit to a “T”. I actually had to locate a barrel clasp since I didn’t have any on hand and paired up everything with some chain that I had that I thought would complement the ammonite pendant. I took a photo of this mock up (2nd photo) and sent it off to my customer with a price estimate.

When I got the thumbs up, I made up the necklace to the agreed specifications. Like any other custom order, I always hold my breath a bit in hopes that the final product, seen in person, is just what the customer was hoping for. Seeing the affirmation that it is, no matter how simple or complex the request, is what makes me enjoy custom work so much. If you haven’t been able to find a special piece of jewelry that you’ve been thinking of, contact me to see if I can make it for you.

Friday, August 9, 2013

Pond Bridge Replacement – Part 1

After over a decade of use and being exposed to the elements, the bridge over the stream leading to my garden pond (see second photo in link) had a structural member give out. Unfortunately the same design was not available. In fact, I was not enamored of most of the designs I found online and the one local place that used to do custom fabrication that I knew about was no longer doing so. Luckily I finally found a couple of styles that had potential at Fifthroom. We opted for the Red Cedar Eden 1/2 Picket Rail Bridge, had it pre-stained and shipped to us. It was going to be a bit wider than the old one but luckily we had just enough room to accommodate it. (This style has three support beams instead of the two of the previous bridge.) As with our previous bridge, it was sent as a kit for us to assemble.

I learned a few things putting in the first bridge that meant my prep time before placing this bridge would take longer but the extra effort should ensure the bridge lasts even longer than its predecessor. While I did plan for footings when placing the first bridge, I did not make sure they were all level with respect to each other, nor did I check for square before we hauled out the assembled bridge. The sides of the stream looked like I should be able to measure off them to place the footings. I had also not realized that there was still a fair amount of slope to the sides in that portion of the stream. That meant that when we placed the first bridge, I had to quickly shift some footings. As I was getting close to finishing this, the bridge shifted some under its own weight to settle onto the adjusted footings. Since it didn’t look like it sheared or torqued too much, we decided to leave it alone instead of taking it off and doing anything more to the footings.

This time I was determined to have the footings in the correct locations, at the correct height to be level with respect to each other and level themselves. I used some large cardboard pieces to fashion a rectangle the size of the footprint of the bridge. I laid this across the stream so that I could place the footings such that they would be under the ends of the three support beams and avoid the larger rocks that we had placed along the stream banks. Once the footings were in place based on the cardboard mock up and we had the framework of the bridge assembled, we test fit the beams and the footings. After making a couple of minor adjustments, we pulled off the bridge framework so that I could level the footings completely.

The footing, as you look at the first photo, at the near left corner was going to be the one that set the height for the rest of them. This is because it was the only one that would be resting on the pond liner. Because it was upstream, I selected the shortest rock footing that I had and placed the tallest one at the near right because that was the lowest elevation where I needed to place a footing. While I worked on a footing to level it, I outlined its placement with some flags so that as I removed dirt to properly set the elevation and level of the top surface, I wouldn’t lose the proper placement. I used a carpenter’s level to check the level of the individual footings and I used and 8 foot metal straight edge and the carpenter’s level to level between footings. Once I had everything looking good, we placed the bridge frame on the footings to check and I’m happy to report that no more adjustments were needed.

(The conclusion to the bridge installation was posted a few weeks later as promised and can be found here.)

Sunday, August 4, 2013

Thanks for the Treasuries - July 2013

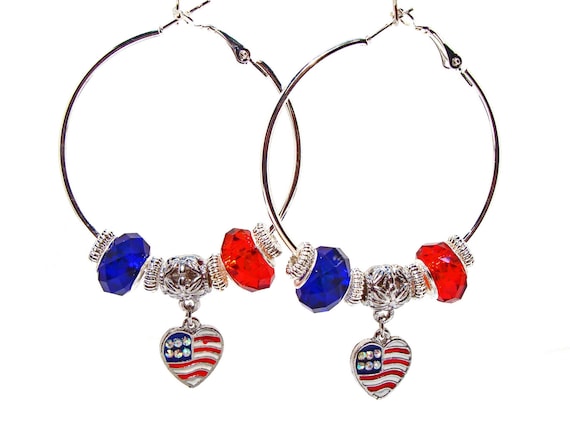
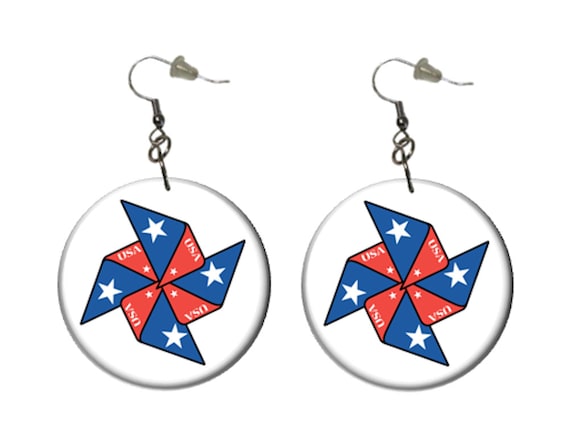
Five different Etsians let me know that they had featured one of my items in a treasury during July. Five July Etsy treasuries, that treasury makers let me know about, included one of my creations. One of my items was featured in two different July treasuries. You can see a collage below of my items from EDCCollective and EclecticSkeptic that were featured during July. (Click on the collage to see a larger view.)


I really appreciate being featured by the treasury makers. To thank them, I have listed below (in alphabetical order) links to the 5 Etsy sellers that let me know that they featured one of my items, as well as an item from their shop that I like.

Enjoy window shopping and please click on the shop links of anything that catches your eye.

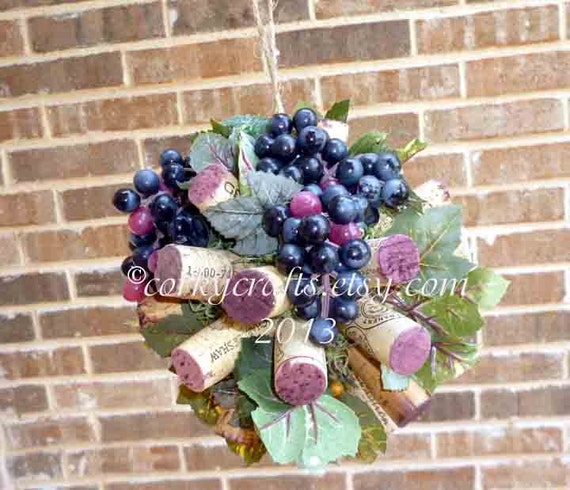
CorkyCrafts
If you have a wine connoisseur to shop for who happens to appreciate hand made items look no further than this shop's wine-related wine cork wreaths and cork crafts.

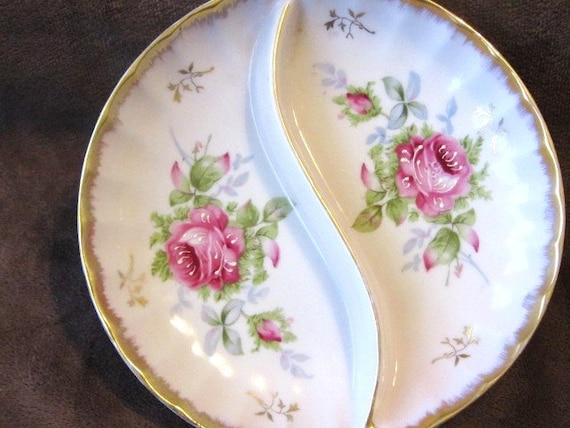
JaysTreasures
This shop owner carries a wide array of lovely vintage finds and some of her artwork too.

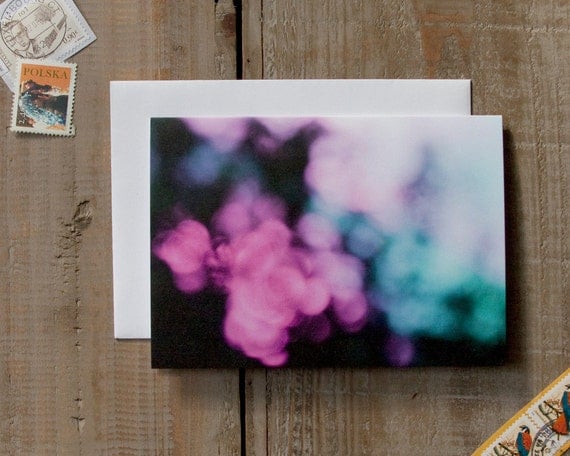
TheHootinOwl
This shop includes handmade bracelets, greeting cards and photography.

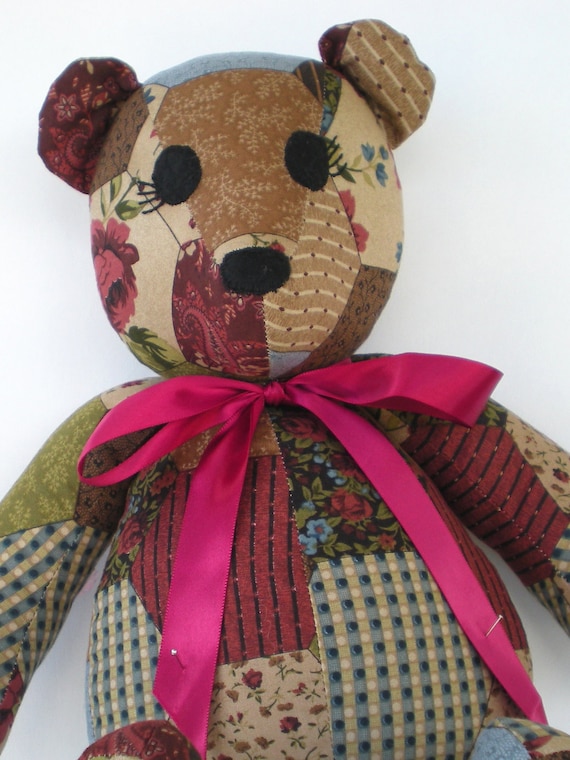
TheYellowRoses
Rag dolls, teddy bears, stuffed animals, & quilts are handmade with great care by this shop owner.

UniqueCreationsBB
Unique, original, one-of-a-kind jewelry made from scratch.

Thursday, July 25, 2013

Repeating Tulips for Warmer Climates

If you love the beauty of tulips in the spring garden but you live where the instructions for getting tulips to put on a good show for you include having new tulip bulbs spend a month or more in your refrigerator each year before planting, I have some great news for you. After trying a few different wild tulip species that claimed to be able to handle low winter chilling and hot summers, I have found a species that not only repeats but slowly multiplies in my North Texas garden. (If you want some of the more classic, hybrid tulips you will need to follow the instructions found on the Texas AgriLife Extension Service website and plan to treat them as annuals.)

I have had success with three cultivars of the T. clusiana species, “Cynthia”, “Lady Jane” and “Peppermint”. These tulips are not as large as the hybrids but do have a fairly classic tulip shape when in the bud stage or when they close for the evening. When they are closed, each of these cultivars has alternating petals of red and white or yellow, depending on the cultivar. They open each day to reveal their white or yellow inner petal color. These cultivars range in height from 8 to 14 inches. I purchased my bulbs online from McClure & Zimmerman.

I planted two different areas of my gardens when I first experimented with these tulips and they are thriving in each. One is off the north side of my front porch. The area gets morning sun but is spared the hot afternoon sun during the time the tulips are “up”. The other area off the NW corner of my garage is basically the reverse with regards to the sun. Both areas are mulched with cypress chips and receive no supplemental water.

So if you live where you thought you could only grow tulips as annuals after providing them some chilling time in your refrigerator, give these wild tulips a try.

Wednesday, July 17, 2013

Artist Spotlight – Metal Motif

My husband and I first saw Denise’s work at a First Fridays pop up market in Downtown Arlington. She makes 3D metal sculptures of all sizes, much of it from sheet stock from her own designs. Her work is so good that she has applied for and received licensing for several college mascot themed pieces. The piece that caught my husband’s eye was a dragon that could be hung from a tree or a ceiling indoors. We were told that it also came in a larger size as a chandelier and were invited to see it in her space at Gracie Lane in Arlington.

I had an opportunity to drop by Gracie Lane a few days later. The large dragon with dangling sconces was most impressive. It holds three sconces in its claws. This is a candle lit chandelier instead of an electrified one. I figured my husband would really like it, however I didn’t think we would have space for this magnificent beast so I checked to see if any of the other sizes that it came in were also available with sconces. I was pleased to find out that the answer was yes, so armed with sizing info I went hunting around the house to see if there would be a perfect spot for a smaller version.

We have an arabesque metal and glass candle holder that hangs from the ceiling by a chain in my husband’s office. I felt that the dragon, with its candle holders, would complement it nicely so I requested a pewter colored dragon with sconces. I surprised my husband with his new “pet” after I picked it up. It now hangs over his desk guarding his things. The first photo in this post shows the actual dragon in its new home. The second image is a photographic art representation that I created.

If you are looking for some metal sculptures for your yard, school spirit items for your college bound kids or other metal decor, check out this talented designer's and sculptor's work at Metal Motif.

Saturday, July 13, 2013

Striking New Black Diamond Crape Myrtle

I have now seen one of the new types of Black Diamond crape myrtle in two different nurseries in my area. When I saw it earlier this year for the first time I just had to snap one up. I picked out a multi-trunked plant with three main trunks. I had no clue where I was going to put it but it was just too good to leave behind. I did finally find a place for it where its unique color plays off a nearby large accent rock’s colors perfectly. It has been so exciting to see it bloom for the first time this week.

What is so special about this plant? Its foliage is that really dark purple red that is almost black, hence the name Black Diamond. The type that I have seen in my area is the variety “Blush” which has blush pink tinged white flowers. Its tag says that it will get 10 feet tall and 8 feet wide so it will make a nice small specimen “tree” in the landscape. The tag also indicates that the bloom time and drought tolerance should be similar to other varieties of crape myrtles. After doing a bit of research online I found out that Black Diamond crape myrtles are also available in pure white and a variety of red blossom colors.

The only slight negative, that I’m guessing is because the plant is so new to the nursery trade, was the size of the available plants. Both places where I saw this plant had them available in a five gallon size but they were the smallest five gallon crape myrtles that I have ever seen. The roots did just fill the pot however so I feel that it will have an easy time of getting established in my garden. So far it seems to be adapting well and what a great show of blooms that I have on this small specimen.

If you want one of your own, the grower’s website allows you to put in your zip code and find a location near you that should have some of these striking beauties for you to take home with you.

The other thing I did a bit of research on with regard to this plant was the correct spelling of its name. Is it crape myrtle or crepe myrtle? I’ve used crape myrtle in this article since that is what is on the grower’s tag even though I have thought it was spelled crepe myrtle. It turns out that it is more likely to be spelled crepe myrtle in the south where people liken its blooms to crepe paper with most other people using crape myrtle as is found in the plant’s scientific name. It’s kind of like whether you write “gray” or “grey” depends a lot on where you grew up.

Tuesday, July 2, 2013

Thanks for the Treasuries - June 2013

Four different Etsians and one Etsy team let me know that they had featured one or more of my items in a treasury during June. Seven June Etsy treasuries, that treasury makers let me know about, included one or more of my creations. Three of my items were featured in two June treasuries. You can see a collage below of my items from EDCCollective and EclecticSkeptic that were featured during June. (Click on the collage to see a larger view.)


I really appreciate being featured by the treasury makers. To thank them, I have listed below (in alphabetical order) links to the 4 Etsy sellers that let me know that they featured one of my items, as well as an item from their shop that I like in addition to the TexasFriendsTeam that also featured an item of mine.

Enjoy window shopping and please click on the shop links of anything that catches your eye.

GirlieGals
"It's a Bling Thing!", says this shop owner who offers you sparkle and shine at affordable prices.

HotdogCrafts
Earrings Rings Necklaces. Gift ideas for girls & woman. Animals, Retro, Sports, Ham Radio, Birds, Bees and more.

PaintedGlassGallery
This shop includes many unique hand painted glass and porcelain items as well as works of art painted directly on glass.

YarnedTogether
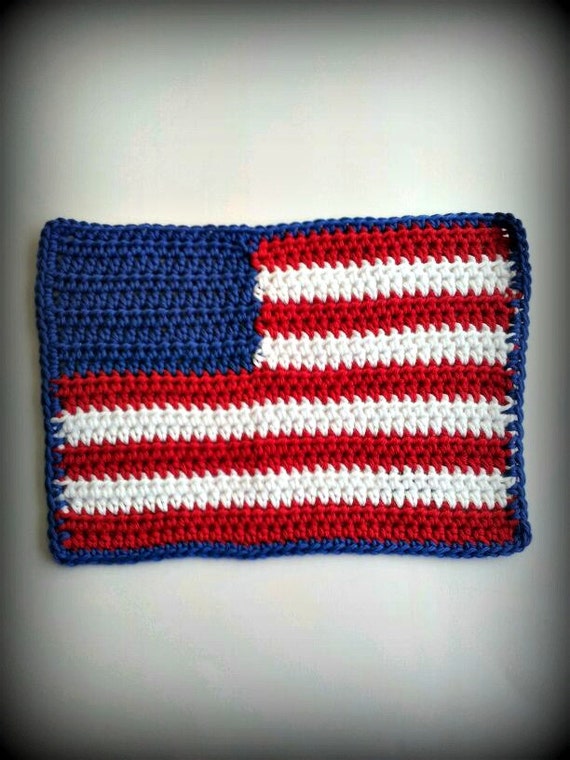
Handmade crochet items for a variety of people and a variety of uses.

TXFriendsTeam
Past, present and future Texans are welcome and encouraged to join this team. The only real rules of the group is to promote friendly, The Texas Way and be respectful to all who participate.