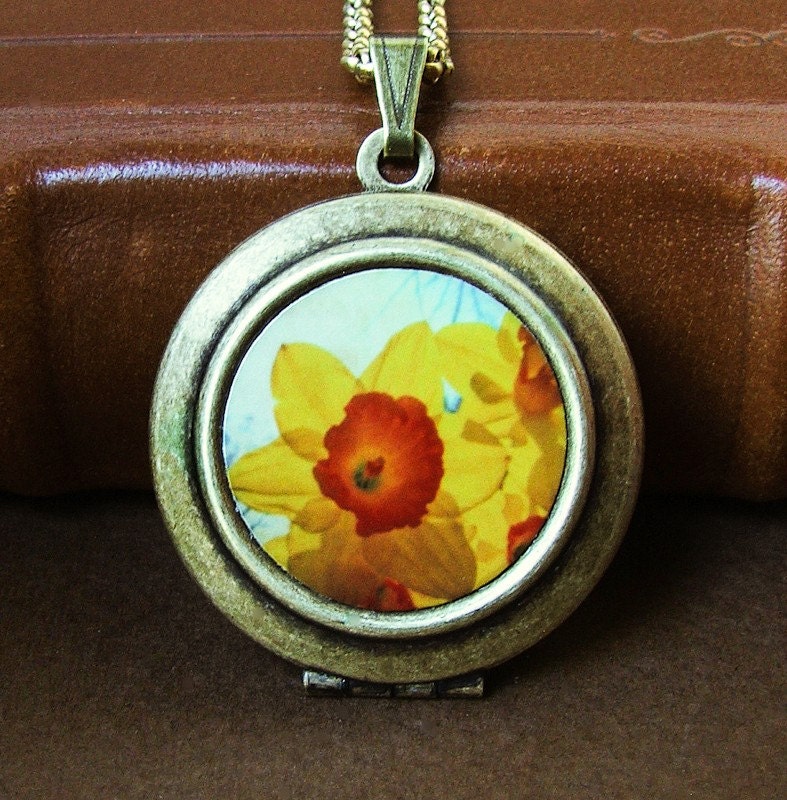
I was going to be emceeing a charity wine tasting and silent auction. A few days before the event, I went through my closet to find a suitable outfit. I decided on a
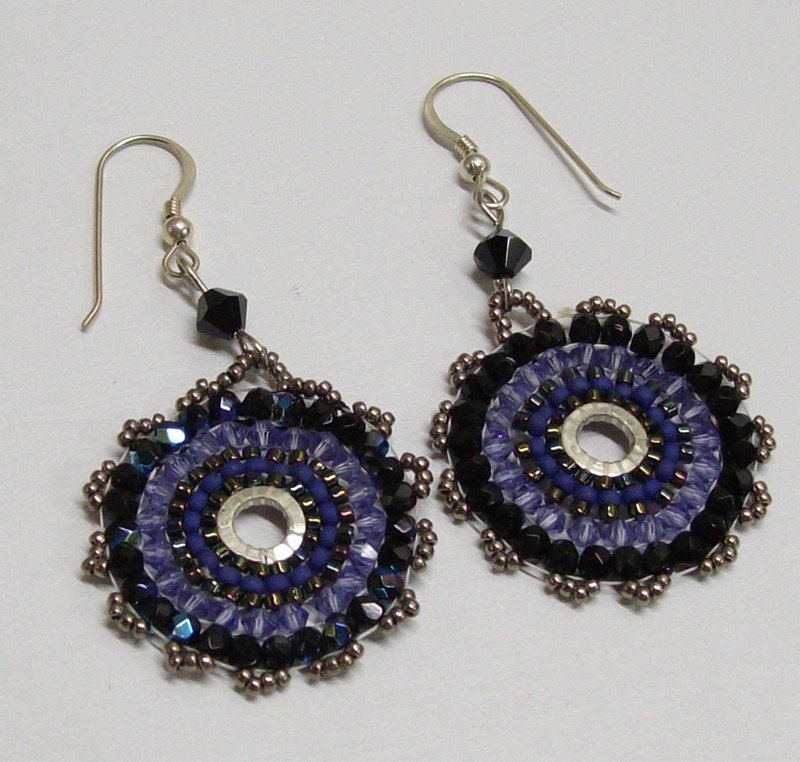
 short sleeved black blouse adorned with sequins and beads worn over a velvet textured maroon long sleeved shirt. Now I needed to pick accessories. The folds of material in the neckline of the maroon shirt precluded wearing a necklace and I thought a bracelet would pretty much get lost under the long sleeved shirt, so I needed to see what earrings I had to work with. While I had some simple silver and/or pearl earrings that would have worked, they were more subtle than I wanted, since the earrings would be the major addition to this outfit.
So I grabbed the beaded blouse and headed to my supply station. My goal was to create a pair of lightweight clip earrings that had sparkle, movement and picked up the colors from my blouse. I pulled out a pair of silver plated, hinged, screw back clip earrings, all of my crystal and Czech glass beads that picked up at least one color from my blouse and some sterling silver chain. I played around with several combinations and finally settled on the beads and chain that I wanted to use. I made up four short crystal sections using silver headpins for each earring. I suspended each of these sections from different lengths of sterling silver chain. I then attached the chains

to the loop of each ear clip.
These earrings are long enough and have enough sparkle that they don’t get lost, but rather are the statement earrings that I was trying for. They are wonderfully lightweight and their sparkle and movement give them a lot of life as I move.
If you ever find yourself in a similar situation and would like something designed especially for you, please contact me to see if I have the materials needed and enough time to design something to fill your needs.
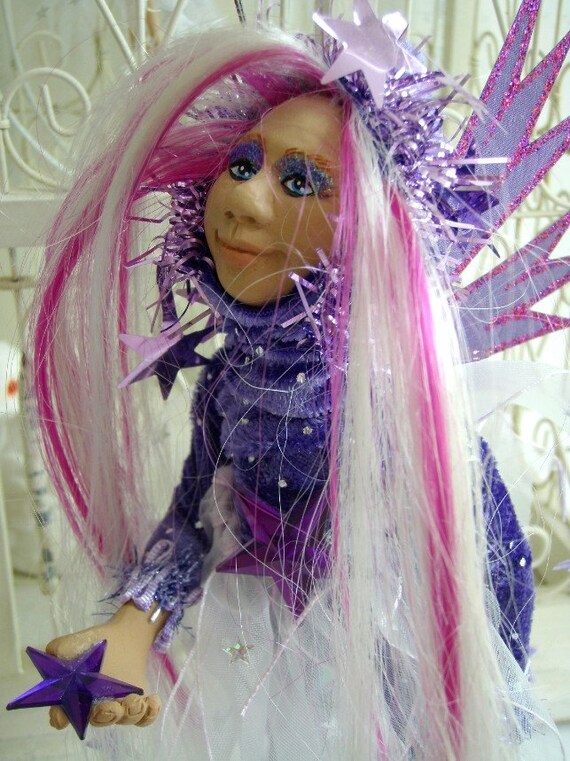
 to my ornament collection and still get them all on the tree, this little pony was just too cute to pass up.
 In an
In an  So remember next year that your unripe tomatoes don’t have to turn to mush on the vine or be turned into fried green tomatoes if the first freeze of the year threatens them before they are ready to be picked. Go ahead and pick them all, leave them in a colander out of direct heat and light and use them as they ripen, just as if they were ripening on the vine.
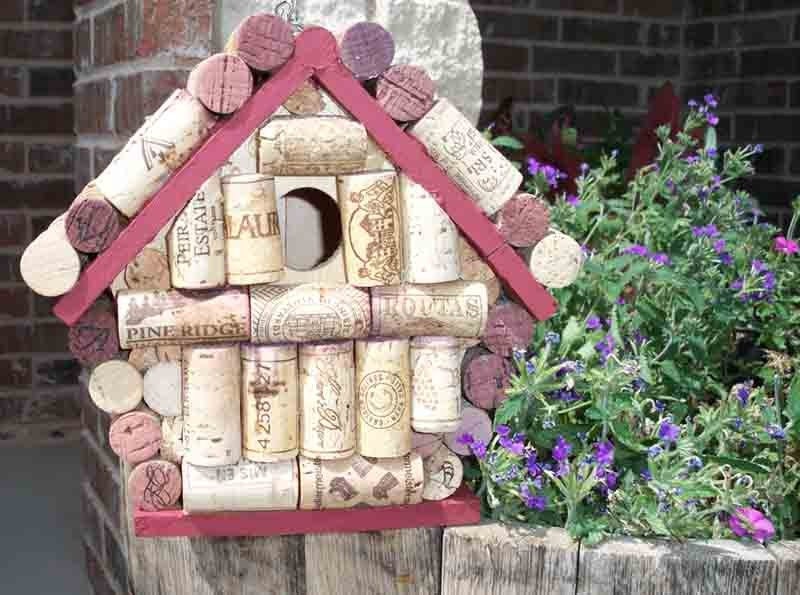
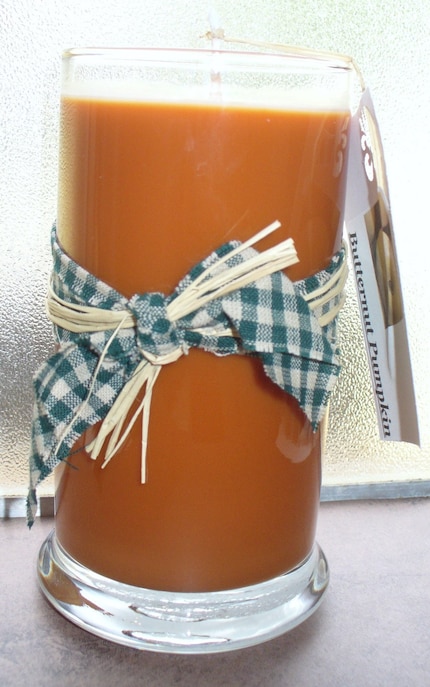
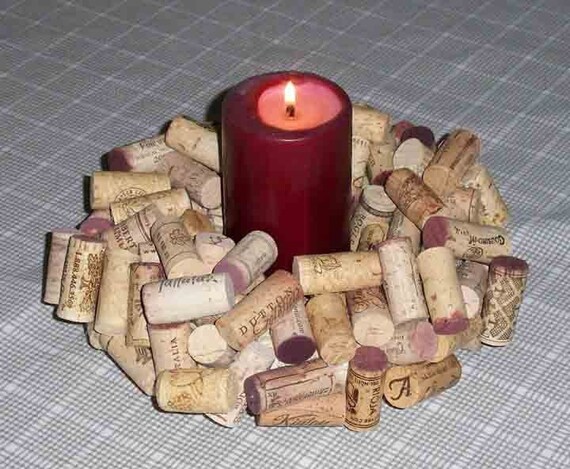 Wine-related products make the perfect gifts! If you are a wine connoisseur who happens to appreciate hand made items, look no further.
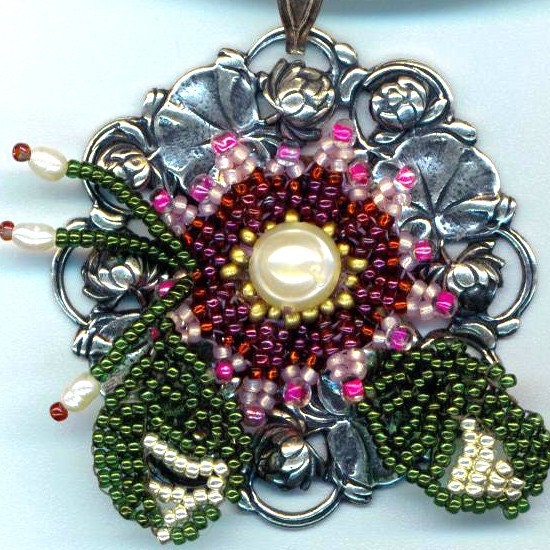


 So, your tomatoes are still producing, not all of the fruit is ripe and a heavy frost or freeze is forecast, what do you do? You get out there and pick all of your tomatoes of course, regardless of color, as the cold front's winds are bearing down, threatening to turn your still productive plants into dead tomatocicles.
 that was barely beginning to blush. (I have a system for keeping a light frost from damaging the plants so that they can continue to produce until a heavy frost or freeze.) The tomato pictured was picked on November 17 and photographed on November 18. I will do a follow up post to let you know how long it took to fully ripen and what it looked and tasted like.
 They have boxes, tubes and mailers in a huge variety of sizes. Even with such a great selection, there were not very many options for my needs. I finally settled on a single wall 24 x 24 x 12 inch box. Unfortunately, none of the double wall boxes had the correct dimensions, so I would have to “beef up” this box when I got home.
 Now it was time for a test fit of my case. There was just a little bit of room in the long dimension of my case for shifting that I needed to fill up. Unfortunately it was not quite enough for some reinforced corner pieces that I had been saving but I did have a couple of "I" shaped pieces of cardboard that I could slide down the sides to take up this space to make a secure fit. The corner pieces fit into the corners of the box to make it very sturdy, even if something got stacked on top so I cut them to length. I used my liquid nails for small projects to secure all of these pieces, applied some bracing and let all of this cure overnight.


 Sunday, November 13 - 14, 2010. You can "shop till you drop" from 10 am to 6 pm on both days. On Saturday there will be even more fun for those shoppers that purchase a
  Whether you will be shopping for yourself or shopping for those perfect holiday gifts, I hope you will get a chance to take advantage of this great shopping opportunity. While you are there, please stop by the crafts area and introduce yourself. I'd love the opportunity to say "hi" in person. Look for my sign near the back of my booth.
 This design project got its start when a prospective customer saw something in
  I was having some difficulty locating examples, so my customer found a couple of links for me. After seeing the product that I was being asked about, I discovered that they could also be found by searching for Native American leather hair ties or wraps. This gave me an idea of the product that my customer was after. These hair accessories are meant to wrap around your hair braids and the solid leather part at the top is tied securely around the braids with the leather fringe hanging below. I asked for some specifics as to the preferred length of the solid and fringed portions as well as color preferences and then I was off to search for supplies and to investigate fringing methods.
 I found a nice red suede piece of leather that looked like it would make what my customer had asked for. After researching fringing, I decided to use a multibladed tool to fringe the lower portion of the hair tides. I practiced on some scrap leather to get a feel for the tool. I had to be careful how I pulled the leather or the fringes would not come out right. After a bit of practice, it was time to create my customer’s custom hair tides. After fringing the pieces, I attached laces to each one for securing the hair wraps to her braids.
 Late flowering boneset naturally grows near streams, lakes or other low lying areas. I have found that it is adaptable to being included in my xeric garden. This plant does spread by underground roots and if it is in an area where it is very happy (damp or frequent watering), it will spread and form a large colony. It is also a vigorous reseeder, so it is best to clip and dispose of the seed heads so that you won’t be constantly pulling seedlings the next year. (Natural seed propagation is how it found its way to my garden in the first place.) So much for it’s vices, there is still a lot to recommend this plant for the right spot on your property. Late flowering boneset will attain a height of 3 to 6 feet. In my garden, it tends to get 4 to 5 feet. It usually blooms, from late September into early October. It is covered with an umbrella of white, fuzzy blooms for a few weeks and attracts a large variety of insects to feed on its flower’s nectar, including Monarch butterflies. This is a plant for the back of a large bed or for holding the soil along banks near low lying areas on your property. It is a perennial that dies to the ground during the winter.
 Blue mistflower is also good for stabilizing sloping ground near low lying areas. It also spreads by underground roots but I have not found it to be an aggressive reseeder. It too, will happily fill an area that stays damp or is watered regularly. I have found it to be very useful in my xeric garden. I got my start as a division (with permission) from a local xeriscape. It also dies back in the winter but only gets a foot or so high in my garden, so it can be planted closer to the front of a bed. It usually blooms at a similar time as late flowering boneset but often for a little longer. It has similar flowers that are lavender in color.


 Sometimes two very different things can be combined for a more pleasing whole than either of the parts could be on their own. Some examples that come to mind are bread and butter, suit and tie, Simon and Garfunkel. The combination that is the basis of EDC’s new collaboration is poetry and illustrations. Now don’t get me wrong,
 beads. The length necklace that my friend wanted was longer than the strand of beads, so I needed to incorporate some spacers or other complementary beads into the design. I had other beads in the same color as well as a variety of faceted glass and crystal beads that I thought would help showcase the large turquoise crystal beads. I strung up a variety of beads in different patterns to see what my friend liked the best.
 She liked the small, faceted, AB coated Czech glass spacer beads the best. They did a good job of adding length, without taking away from the turquoise beads that she liked so much. We also discussed the pattern of spacers and large beads in the necklace. To add more emphasis to the turquoise beads, the final design was to include several of these beads grouped together in the front of the necklace without spacers.
 In an effort to blend my love for math and science with my love for creating things, I have put on my thinking cap to come up with items for the math and science geek. My goal is to create items that not only are attractive, but that will be appreciated on a deeper level by someone with the appropriate math or science background.
  Perhaps you are more of the science type. Then the